Showing posts with label you can make it. Show all posts

Saturday, January 15, 2011

The Great Mayonnaise Debacle.

I had squeezed the very last splurt of mayonnaise from the squeeze bottle and my menu plan for the next fortnight included two meals that used mayonnaise. It was time to buy more.

Inspired by the 'Real Food' challenge on Not Dabbling in Normal I decided that I would make my mayonnaise from scratch. It would be healthier without all the preservatives, it would have a more traditional feel to it and I would feel better for having made it myself.

Or at least that was the plan.

The following debacle unfolded on Facebook so enough talk from me. I let the disaster speak for itself.


The big lesson here is this:

Though adding extra ingredients to a failed cooking endeavor may work sometimes it is not always the best way to go. Lemon essence? Really!

Wednesday, January 5, 2011

Mulberry Ice Cream

Ice cream is exquisite. What a pity it isn't illegal. Voltaire


The mulberries plucked from the tree back in Spring were still sitting frozen, unused. Indecision about whether to make jam, cordial, a dessert syrup or some other delightful delicacy from my most treasured harvest had me at a standstill on using them at all.

On the 1 January 2011 I made my favourite choc-chip biscuit recipe which calls for a few tablespoons of condensed milk. That gave me an almost an entire can of condensed milk leftovers which I needed to use up.

A friend had made home-made ice cream for her New Years party using condensed milk so I hunted down a recipe (www.taste.com.au forums), girded my loins and went in for an adventure in ice cream making.


Mulberry Ice Cream

400ml condensed milk
300ml thickened cream
1 tsp vanilla essence
3 eggs separated
1kg mulberries, stalks removed.

Beat the condensed milk, essence and egg yolks for roughly 3 minutes, or until light and fluffy.
Beat the egg whites in a seperate bowl until firm peaks can be made.
Beat the thickened cream in another bowl until thick.
Puree the mulberries.

Condensed milk mixture, mulberry puree, egg whites and whipped cream.

Fold the egg whites, thickened cream and mulberry puree into the condensed milk mixture. If desired, beat with a hand mixer for a few more minutes before putting in a suitable container for freezing.


Notes
  • handmade ice cream will be harder than machine made/store bought ice cream..... but just as tasty!
  • makes just short of 2L of ice-cream.


Monday, December 20, 2010

MYO - Home Yogurt

Okay... so this blog has focused heavily on my garden recently. As a first time gardener everything about seeds, vegetables and flowers growing is fascinating me so I hope you'll forgive me for the one-track-mind. However, gardening isn't all I do around this place to steer myself onto a more sustainable and simple lifestyle.

Every Sunday I make yogurt to take in for lunches during the week using a 'cheater's device called an 'Easiyo'.

Sweetened Greek yogurt on top of smooshed mulberries.

Easiyo is a NZ company which has made home yogurt making easier. They sell a thermos-like device, canisters to fit it and little sachets of yogurt powder mix, containing the live culture, flavours and milk powder.

I've attempted making yogurt from scratch before but both times were failures... You see the trick with yogurt making is to keep your brew at the right temperature for the live cultures to do their work in turning the lactose into yogurt. If it's too cold, the culture will die. Likewise, if it's too hot.

The Easiyo device is half filled with boiling water and a custom sized canister, filled with the yogurt powder mixed thoroughly with water, is inserted. The boiling water gets the mix to just the right temperature and the thermos keeps it at that temperature while the bacteria do their thing.


Yummy, firm Greek yogurt after 8 hours in the thermos.

I do all this in the evening, it takes less than 5 minutes. Then in the morning I open the thermos, pull out the canister and find perfect Greek Yogurt every time!

You can buy all kinds of flavoured Easiyo sachets but I always use the unsweetened Greek yogurt. The fact that it is plain means I can use it for cooking, further process it to make soft cheese (haven't done this yet) or sweeten it with jams, sauces and honey.

Lunch - Greek yogurt with a generous dollop of Manuka honey.

Why bother with making your own?

1) Freshly made yogurt means the healthy, good-for-you live cultures are in the billions instead of the millions you find in yogurts that have been sitting on shelving.

2) It is cheaper. One yogurt sachet makes 1L and costs less than buying a 1L tub of cold yogurt from the supermarket.

3) If making from scratch, you know that your yogurt is entirely free of preservatives and other chemicals.

4) If making from scratch, you eliminate one more bit of plastic packaging from your household waste.

I live in hope that one day soon I will make yogurt from scratch, using lemon juice and milk to get a culture started. Given that my first two failed attempts were due to temperature fluctuations I hope the thermos idea will help moderate the heat so I will have success.

(Please note- I am not sponsored or supported by Easiyo in any way. I just absolutely love their yogurt maker! This entry is an honest review of their products from my perspective.)

Friday, October 15, 2010

Pesto... Not made for a jar!

Ahhhhh. As I type up this entry I am licking my chops in satisfaction.

I have just eaten a lunch of homemade pesto and pasta. Frankly, I intend to never eat bottled pesto again.

With a food processor or stick blender (with appropriate attachments) you can pick and chooses your own flavors and have a scrumptious pesto in literally minutes. I love the way my pestos are more chunky and much less oily than store bought ones too.

Usually, if I'm doing a Q&D pesto, I grab basil from the garden, cashews from the pantry, grated cheese from the fridge and drizzle olive oil before whizzing the lot together.

Today I added some sun dried tomatoes and sunflower seeds and was certainly not disappointed with the results!! I think in the future I may try adding in some of my fresh oregano with the sundried tomato to see how that works. Yeah!

Sunday, July 19, 2009

Strawberry & Cardamom Cordial

One of my (numerous) hobbies is historical reenactment. This upcomming weekend will find me, dressed in pretty Regency clothes, at the only fort in Brisbane. Two days on the edge of the cold Brisbane bay in Winter deserves some good food so I set about finding recipes from the early 19th century to make and take.

In Regency (Jane Austen) times, cordial was a term used for a sweetened liquid given to invalids. What we refer to as cordial in Australia today was called 'waters'. So the recipe I made would be called:
Strawberry & Cardamom Waters
  • 2 cups water
  • 2 cups castor sugar
  • 2 tab lemon juice
  • 2 x 250g punnets of strawberries
  • 1/4 tsp cardamom seeds

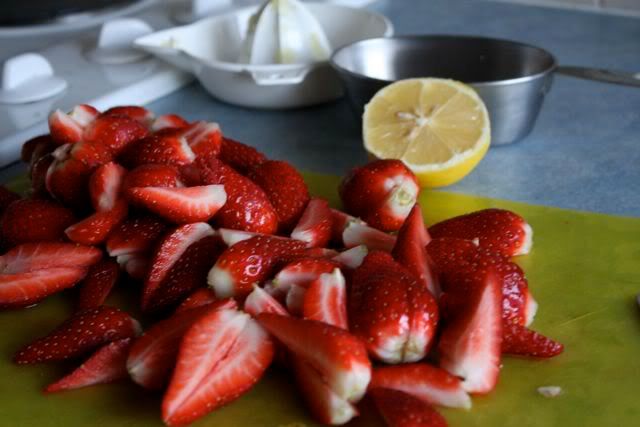
Hull and halve the strawberries. (Mine were large suckers so I quartered them.)

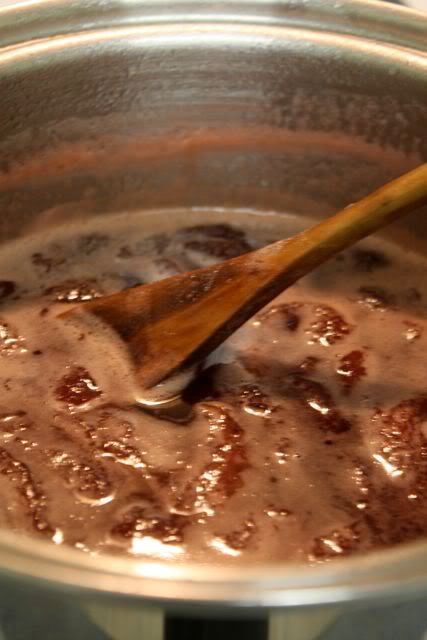
In a saucepan stir the water, castor sugar and fresh lemon juice over low heat until sugar is dissolved. Raise the heat and simmer the liquid until it has reduced to a light syrup.


Add the strawberries and dried cardamom pods (I put mine in a tea caddy so they wouldn't be hard to remove from the strawberry pulp at the end). Simmer this for about 20 minutes.

Let cool for another 20 - 30 min.

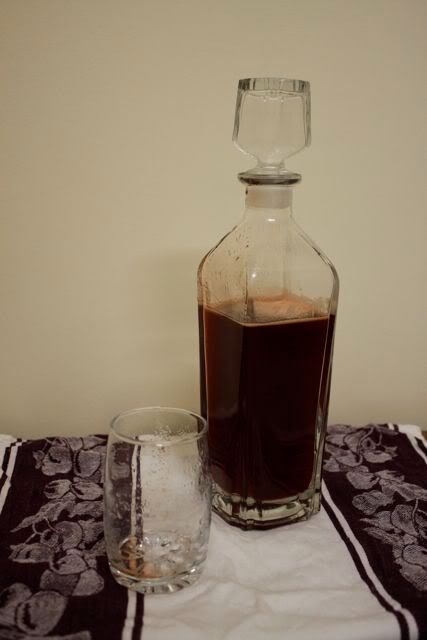
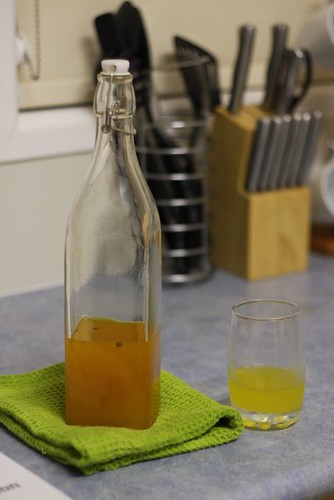
Discard the cardamom seeds. Strain all syrup from the liquid through a fine sieve. (This may take some time!) Bottle in a sterilised bottle and voila! Delicious but very rich cordial.

Thursday, May 14, 2009

A Passion for Passionfruit

A coworker has a passionfruit vine that runs rampant in her back yard and every so often, tired of her rediculously fruitful crop, she brings passionfruits into work for her lucky workmates.

Last week she gave me 9 passionfruits and though I was stoked at getting so many for nothing more than a smile, I was a bit overwhelmed at what to do with them.

The last time she had given me 2 of the fruits and I had used their juicy pulp to make a passionfruit sauce to go over ice-cream. It was seriously tasty but I wanted to try something different. Something that was almost symbolic of my move to home-made life.


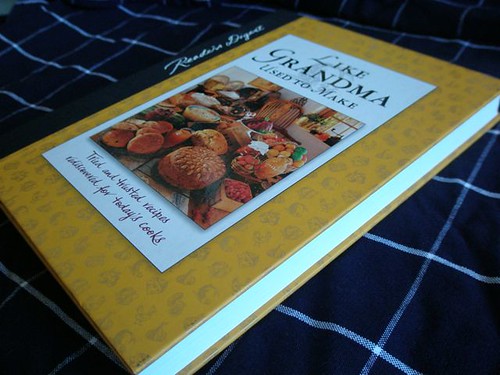
And looking through one of my favourite cookbooks Like Grandma Used to Make by Reader's Digest (which I was lucky enough to get 2nd hand at the Brisbane Lifeline Booksale for $15!) I saw recipes for cordials. It was like a light bulb went off above my head.

For my whole life cordial has always been bought from a supermarket. I always had the concept that cordial was some thing that could only be made in a factory with expensive machinery and mysterious secret ingredients. When I read Anne of Green Gables I learned that Marilla had home made cordials but it seemed like some long-lost art along with cheesemaking and fruit preserving. So deciding to make cordial felt liberating, like I was taking something back into the home where it had started.


The cordial recipe I used is below:

Passionfruit Cordial

  • 1 cup white sugar
  • 1/2 cups water
  • 1 cup lemon juice
  • 1 cup passionfruit pulp (seeds included)
  • kitchen muslin/gauze
  • soda water to serve.


Add the sugar, water and juice to a saucepan. Bring to the boil and, with lid off, continue to simmer until the liquid has become syrupy. Remove from heat and add the passionfruit pulp.

Set aside for 45 min or until cooled.

Using a strainer, separate the liquid from the pulp. Put the remaining pulp in a large square of kitchen muslin. Squeeze and massage out the liquid still captured in the pulp. Note: Be careful not to let seeds escape. I'd advise using two layers of muslin as mine split a little.

Store the cordial in a sterilised glass bottle in the fridge. Serve with soda water or water.